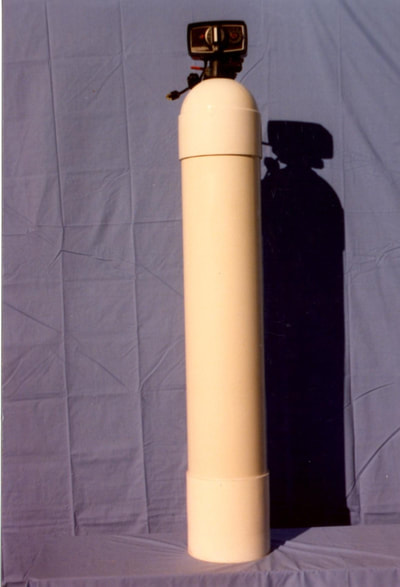
Filtration Installation for Carbon Tank
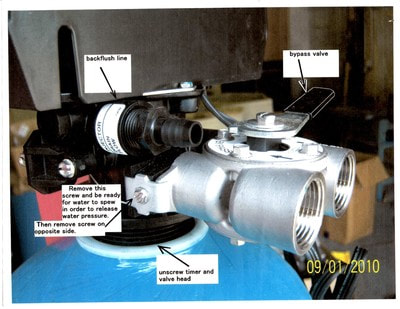
- Install back flush pipe. It is good to attach a 90° PVC elbow, 1/2-inch diameter to get the back flush pipe out of the area of the water line "in" A and line "out" B. Some people like to use a plastic tube & not use PVC on the back flush, which is fine. See view #1
- Install metal bypass valve on the timer head and attach the metal brackets on each side of the bypass valve with two screws. See view #2
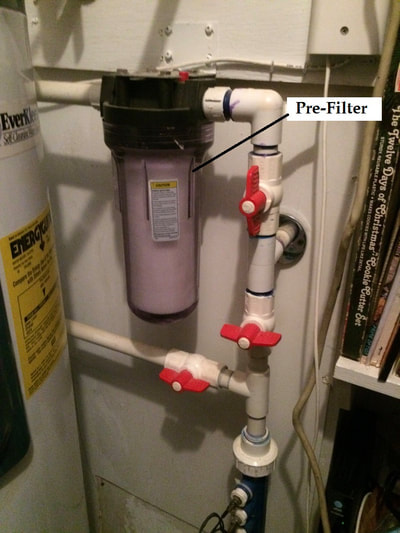
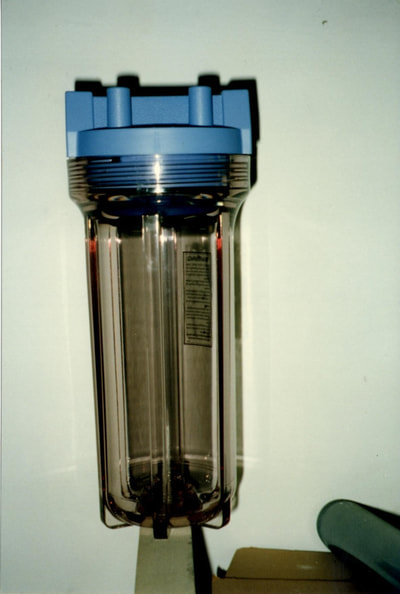
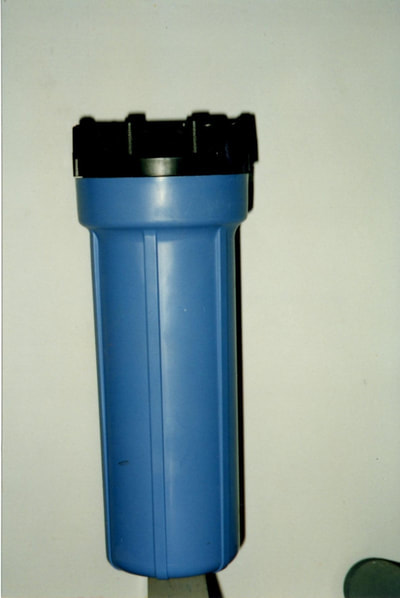
- Once the valve is in place wrap Teflon tape around the threads of two PVC male adapters, 3/4 or 1 inch, depending on the valve entrance exit size. Screw the adapter into place and attach two 45° angle elbows painted away from each other to give more room to handle pipes to the pre-filter and pipe back to the house. See View #1 & #2. Attach the same type male adapter to the pre-Filter and glue pipes from bypass valve to the pre-filter. Attention: You will need more Teflon tape on the male adapter that screws into the black housing on the pre-filter than what you wrap on the adapters for the bypass valve since the thread tolerance on the black plastic is very loose. Make sure to have the "IN" and "OUT" set up right. the out is on the tank side of the pre-filter.
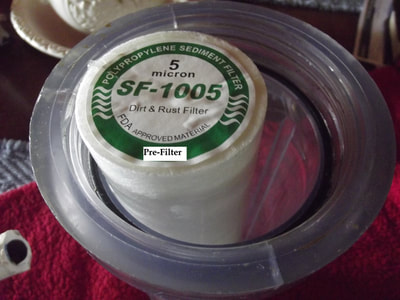
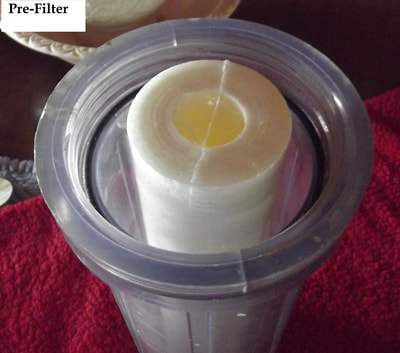
- It is good to put a wooden board on the wall to mount the bracket that holds the pre-filter which gives clearance for tools to loosen the canister at times that the cartridge will need to be replaced. Cartridge is replaced every 5 to 7 months, depending on how bad the water is in each location. Remember the 10" filter tank is the main filter and the pre-filter is just for turbidity. Some pre-filter cartridges can go 10 or 11 months and becomes very brown in color, but they are not the main filter.
- Build what we call the "H" bypass out of PVC. see figure #2. This set up gives one the ability to turn off valve "A" and valve "B", then turn on valve "C" this will give the home water at all times, without filtration, but also gives one a way to work on the system and yet still have water to the house. If the owners move to another home, then turn off valve "A" & "B" and turn on valve "C", then cut the pipes above valves A & B and take the filtration tank, etc., with you.
- Attach the antenna pipe to the "B' side going to the house. then antenna pipe can be hooked up on the inlet or outlet side.
- The frequencies will not pass through any type of rubber hose or rubber pipe. All other plastic, PVC, CPVC, copper, neoprene (without rubber) will work just fine. We never ever check for voltage with the ESP unit. The only thing important is frequency. There is a very inexpensive ohm meter at Sears that costs about $23, which has the Hz frequency application. (see attached photo) Then all you need to do is to put the red lead in the water and the black lead on a ground. When one has several modules you will have a fluctuation of frequencies and that is all you need to verify that the E.S.P. is working. Put the red lead on the antenna pipe to check also. If the home or restaurant has a soda machine it will be good to put a rubber hose before the soda machine due to the fizz will disappear when the frequencies hit the machine. When ladies are coloring hair, you will need to use another water or puta rubber ose between the water supply for the salon, or the chemical change that takes place will change the hair to a color they DO NOT LIKE!
- When all pipes are hooked to the application properly, make sure the electrical outlet is wired properly. A test device with two yellow lights and one red light will show if the plug is okay. see picture #4

